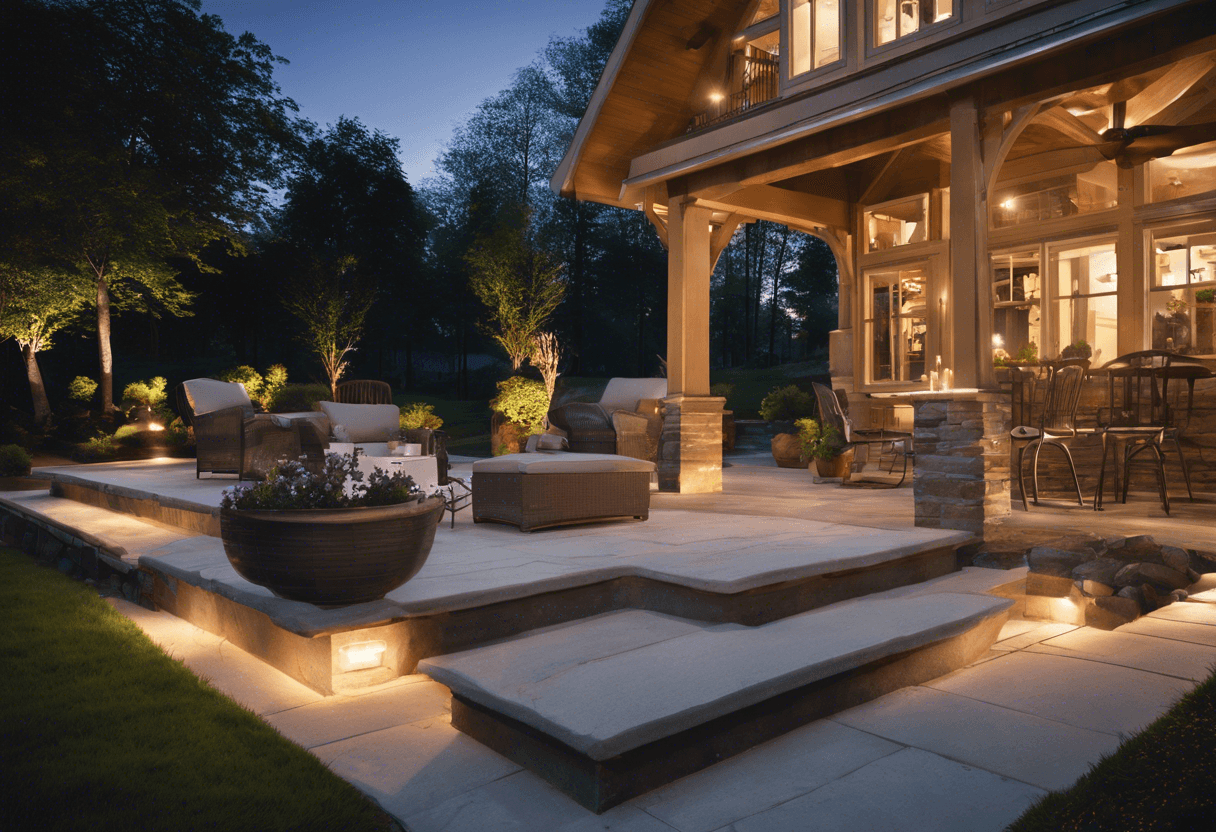
How to install and maintain outdoor lighting


Outdoor Lighting 101: A Comprehensive Guide to Installation and Maintenance
Outdoor lighting is a vital aspect of home decor, serving both functional and aesthitic purposes. Not only does it illuminate the exterior of your home, but it also adds curb appeal, enhances safety, and creates ambiance. However, installing and maintaining outdoor lighting can be a daunting task, especially for those who are new to DIY projects or electrical work. In this article, we'll provide a comprehensive guide on how to install and maintain outdoor lighting, ensuring your home shines bright and beautiful.
Choosing the Right Outdoor Lighting
Before diving into the installation process, it's crucial to select the right type of outdoor lighting for your home. Consider the following factors:
- Purpose: Determine the purpose of the lighting. Do you want to highlight specific architectural features, illuminate walkways, or create ambiance?
- Energy Efficiency: Look for energy-efficient options like LED or solar-powered lights to reduce energy costs and environmental impact.
- Durability: Select lights made from weather-resistant materials like stainless steel, aluminum, or polycarbonate to withstand outdoor conditions.
- Style: Choose lights that complement your home's style and architecture.
Popular Types of Outdoor Lighting
- Pathway lights: Illuminate walkways and driveways, providing safe passage and highlighting landscaping features.
- Spotlights: Highlight specific architectural features, such as columns, statues, or water features.
- Floodlights: Provide general illumination for large areas, like patios or decks.
- String lights: Add ambiance and create a cozy atmosphere in outdoor living spaces.
Installing Outdoor Lighting
Once you've selected the right lighting for your outdoor space, it's time to start the installation process.
Pre-Installation Checklist
- Turn off the power: Ensure all power sources are turned off before starting the installation process.
- Check local regulations: Verify if any local regulations or permits are required for outdoor lighting installations.
- Prepare tools and materials: Gather necessary tools, such as a drill, wire strippers, and connectors, and materials like wire, conduit, and fixtures.
Installing Pathway Lights
- Plan the layout: Decide on the placement of each light, taking into account the distance between lights and the desired level of illumination.
- Dig trenches: Dig shallow trenches for the wiring, using a trenching shovel or a garden fork.
- Lay the wiring: Lay the wiring in the trenches, ensuring it's buried at least 6 inches below the ground.
- Connect the lights: Connect the lights to the wiring, following the manufacturer's instructions.
- Test the lights: Turn on the power and test the lights to ensure they're functioning correctly.
Installing Spotlights and Floodlights
- Determine the mounting location: Select a sturdy mounting location, such as a wall, roof, or beam, that can support the weight of the light.
- Drill pilot holes: Drill pilot holes for the mounting screws, ensuring they're level and secure.
- Mount the light: Mount the light to the selected location, tightening the screws firmly.
- Connect the wiring: Connect the wiring to the light, following the manufacturer's instructions.
- Test the light: Turn on the power and test the light to ensure it's functioning correctly.
Maintaining Outdoor Lighting
Regular maintenance is crucial to ensure your outdoor lighting system functions optimally and lasts for years to come.
Cleaning Outdoor Lights
- Regularly clean lenses and reflectors to remove dirt, dust, and debris that can reduce light output.
- Use a soft-bristled brush or cloth to gently clean the lights.
- Avoid using harsh chemicals or abrasive materials that can damage the lights.
Replacing Bulbs and Fixtures
- Replace bulbs as needed, following the manufacturer's instructions.
- Inspect fixtures regularly for signs of wear, such as rust or corrosion, and replace them if necessary.
Checking Wiring and Electrical Components
- Inspect wiring and electrical components regularly for signs of wear, such as fraying or corrosion, and replace them if necessary.
- Ensure all connections are secure and not loose.
Pest Control
- Regularly inspect outdoor lights for signs of pest infestation, such as wasp nests or spider webs.
- Remove any debris or webs that may accumulate on the lights.
Converting to Energy-Efficient Outdoor Lighting
Converting to energy-efficient outdoor lighting can save you money on energy costs and reduce your environmental impact.
Benefits of Energy-Efficient Lighting
- Energy savings: Energy-efficient lights use significantly less energy than traditional incandescent bulbs.
- Longer lifespan: Energy-efficient lights last longer than traditional bulbs, reducing replacement costs.
- Environmental benefits: Energy-efficient lights reduce carbon emissions and minimize waste.
Popular Energy-Efficient Options
- LED lights: Use significantly less energy than incandescent bulbs and last up to 25 times longer.
- Solar-powered lights: Harness the sun's energy to power your outdoor lighting, eliminating energy costs.
Tips and Tricks
- Use a timer or smart lighting system to automate your outdoor lighting, ensuring it's turned off when not in use.
- Consider using motion-sensitive lights to enhance security and energy efficiency.
- Add a photocell sensor to automatically turn lights on at dusk and off at dawn.
Conclusion
Installing and maintaining outdoor lighting is a crucial aspect of home decor, providing both functional and aesthetic benefits. By choosing the right type of lighting, following a pre-installation checklist, and maintaining your outdoor lighting system, you can create a beautiful and safe outdoor space that enhances your home's curb appeal. Remember to consider energy-efficient options and regular maintenance to ensure your outdoor lighting system functions optimally and lasts for years to come.